
One of the most enjoyable parts of camping is the campfire – a roaring fire that brings warmth on chilly nights, a place to cook up some tasty grub, and a reason for friends and family to gather outdoors Because let’s be honest, whether you’re roughing it in a national park, a campground, or even your own backyard, learning how to build a campfire safely is a basic outdoor skill that’s well worth having.
The good news is that building a campfire isn’t exactly rocket science. With a few simple steps, the right materials, and a safe spot to do it in, anyone can create a campfire that burns nice and bright, without causing any problems.
Why Learning to Build a Campfire Really Matters
A campfire isn’t just about having a source of light and heat – for many outdoor enthusiasts, it’s a big part of what makes camping so special.
Some of the benefits of a campfire include.
- Keeping warm on chilly nights
- Helping you cook up some delicious outdoors meals
- Providing light at night – no more fumbling about in the dark
- Giving you a great spot to have a social gathering with the gang
- Even helping with outdoor survival skills – just in case
However, it’s super important to handle campfires responsibly. A poorly managed fire can start a wildfire, which is a serious risk, especially in dry conditions.
Check Local Rules Before You Start
Before you even think about lighting a campfire, make sure you check that it’s allowed in your area. And don’t just assume it’s fine – a lot of parks, forests and campgrounds have fire restrictions in place to prevent wildfires during dry times.
Before you get started:
- Check the local fire regulations to make sure you’re not breaking any rules
- Follow the rules at the campground where you’re staying
- Keep an eye out for any fire ban notices
- Use a designated fire ring if one’s available – it’s safer
Never assume you can just go ahead and light a campfire without checking first – it’s just not worth the risk.
Gather the Right Materials
To make a campfire that’s going to burn well, you’ll need three basic types of fuel.
Tinder
Tinder’s the material that catches fire first, so you want it to be really dry so it ignites easily.
Some good examples of tinder include:
- Really dry leaves
- Dry grass
- Pine needles
- Small pieces of bark
- Or even a commercial fire starter
Kindling
Kindling’s the small sticks and twigs that help the fire get going after the tinder’s caught.
Some good kindling includes:
- Small dry branches
- Thin twigs
- Small wood pieces
Firewood
Firewood’s the big stuff that keeps the fire burning all night.
Choose:
- Dry hardwoods
- Seasoned firewood
- And try and get it from a local supplier if possible
And don’t even think about using wet wood – it’ll just produce loads of smoke and burn really badly.
Choose a Safe Fire Location
Where you choose to build your campfire is just as important as how you go about it.
Ideally, you want to build inside a designated fire ring or fire pit – but if not, just make sure it’s:
- At least 15 feet away from any tents
- Far from any low-hanging branches
- Away from any dry grass
- On a flat surface
- And protected from any strong winds
Clear all the leaves and sticks and other flammable materials away from around the fire area.
Build a Fire Pit (If You Need To)
If there’s no existing fire ring, you’re going to need to create one.
To do this:
- Clear a circle about 8 feet wide
- Remove any dry grass and leaves
- If it’s allowed, surround the fire area with some rocks
- Make sure there are no flammable materials around the fire
- And don’t forget to keep a bucket of water or a shovel handy in case of emergencies
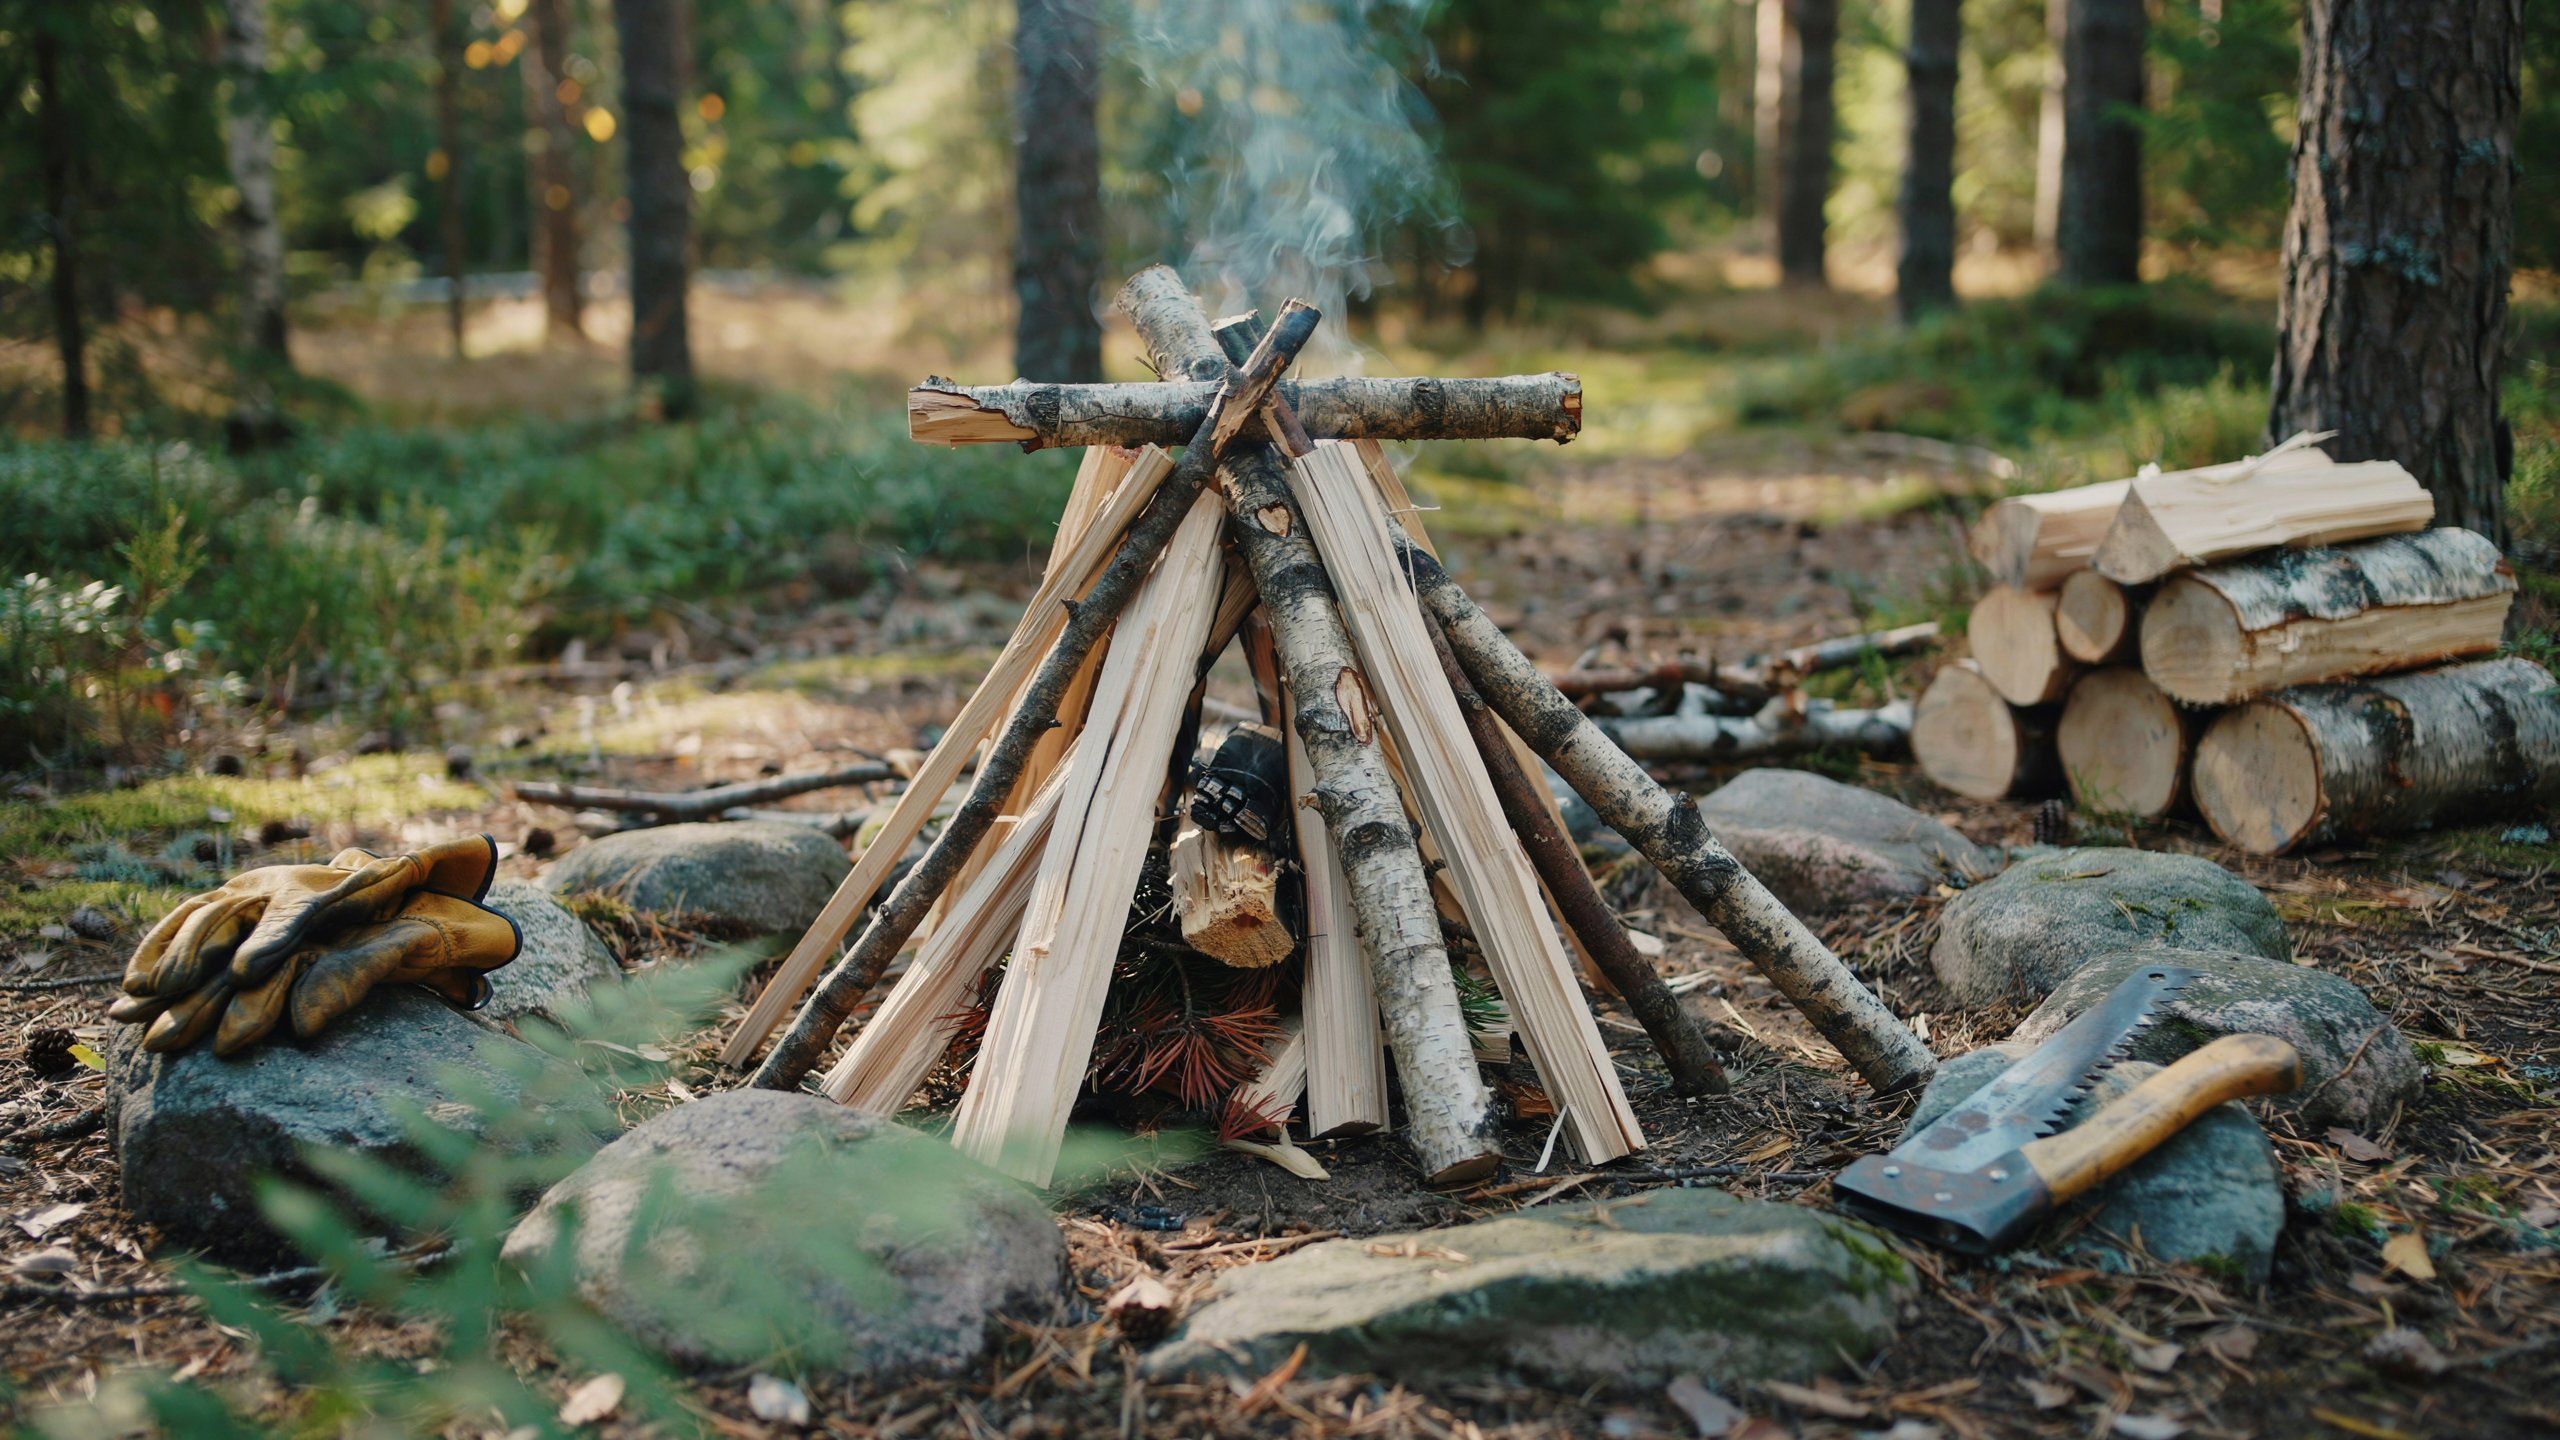
Build a Teepee Campfire
The teepee method’s a great way for beginners to build a campfire – it’s super easy to follow.
Step 1: Place the Tinder
Put a small pile of tinder in the middle of the fire pit.
Step 2: Add Kindling
Arrange some small sticks around the tinder in a cone or teepee shape – leave some gaps in between to let airflow through.
Step 3: Add Larger Sticks
Place some slightly bigger kindling pieces around the outside of the structure.
Step 4: Light the Tinder
Use a match or lighter to light the tinder – the flames should spread naturally to the kindling.
Step 5: Add Firewood
Once the kindling’s burning well, you can start adding larger pieces of firewood – but don’t add too much at once or you’ll smother the fire.
Alternative Campfire Designs
There are loads of different campfire designs you can use, depending on the situation.
Log Cabin Fire
The log cabin design’s great for creating a strong, long-lasting fire.
To build one:
- Place tinder in the center
- Surround it with kindling
- Stack larger logs in a square pattern
This design helps with airflow and keeps the fire stable.
Lean-To Fire
The lean-to fire’s a good one to use in windy conditions – it uses a bigger log as a windbreak while the smaller sticks lean against it.
This helps protect the flame while it’s getting going.
Keeping Your Campfire Burning Well
Once the fire’s going, keep it burning well by adding wood gradually, using dry wood only, avoiding overcrowding the fire, maintaining airflow and removing excess ash when needed.
How Not to Leave a Fire Unattended
Safety is always the top priority when it comes to campfires. Never leave one unattended – it’s just not worth the risk.Even a tiny campfire can quickly get out of hand if you leave it unattended.
Always keep an eye on that fire until it’s completely out. You can’t be too careful when it comes to fire safety.
Keep a Water Buckets Handy
Always have some basic emergency gear nearby such as:
- A bucket of water
- A shovel
- Some dirt or sand
These things can come in pretty handy if you need to control an emergency situation.
Watch Out for Flammable Liquids
Don’t even think about using:
- Gasoline
- Kerosene
- Lighter fluid while you’re still dealing with an active fire
These liquids can cause a fire to go from bad to worse in a heartbeat.
Keep Kids and Pets at a Safe Distance
When a campfire is burning, make sure there’s some space between it and the little ones – or the pets. Teach kids some basic campfire safety rules before letting them get too close.
How to Put Out a Campfire Properly
A lot of people don’t realize just how important it is to put out a campfire right.
The fire is really only out if it’s cold to the touch.
Step 1: Just Let it Burn Down
Stop adding wood and let the fire do its thing. Let the wood burn itself out.
Step 2: Give it a Good Soaking
Pour some water over all of those embers and burning wood. Listen for the hissing sound – that means it’s working.
Step 3: Stir it Up
Take a stick or shovel and mix up the ashes. You don’t want any hidden hot spots to catch you off guard.
Step 4: Keep Pouring Water
Keep adding water until everything is nice and cool.
Step 5: Check for Heat
Hold your hand near the ashes and see if there’s any heat coming off. If you feel any still, pour more water on it. It’s only when everything is stone cold that you can leave.
Common Beginners Mistakes to Watch Out For
Newbies often make some pretty basic mistakes that can really have a negative impact on safety.
Watch out for:
- Using soggy wood
- Building a fire that’s just way too big
- Leaving the campfire unattended for even a second
- Ignoring any local fire restrictions
- Failing to give that fire some serious attention before you leave
Take it from us, a small, controlled fire is always better than some massive one.
Conclusion
Knowing how to build a campfire is a pretty essential outdoor skill that can really make your camping trip more enjoyable and comfortable. By picking a safe spot, grabbing the right materials and using some basic fire-building techniques, you can have that campfire burning efficiently and safely in no time.
Most importantly, don’t forget to follow all the local rules and regulations and to keep a safe eye on that fire. A well-managed campfire is a source of warmth, light and memories – and it will help keep people, wildlife and the environment safe.